Importing Personnel
Last updated April 10, 2025
Daysheets makes it simple to quickly add personnel in minutes, whether your tour has a few traveling members or hundreds. To use the importer, go to Personnel, and select the “Edit Personnel” Tab.
Next, click “Add Personnel” on the right hand side, and select “Import from CSV”.
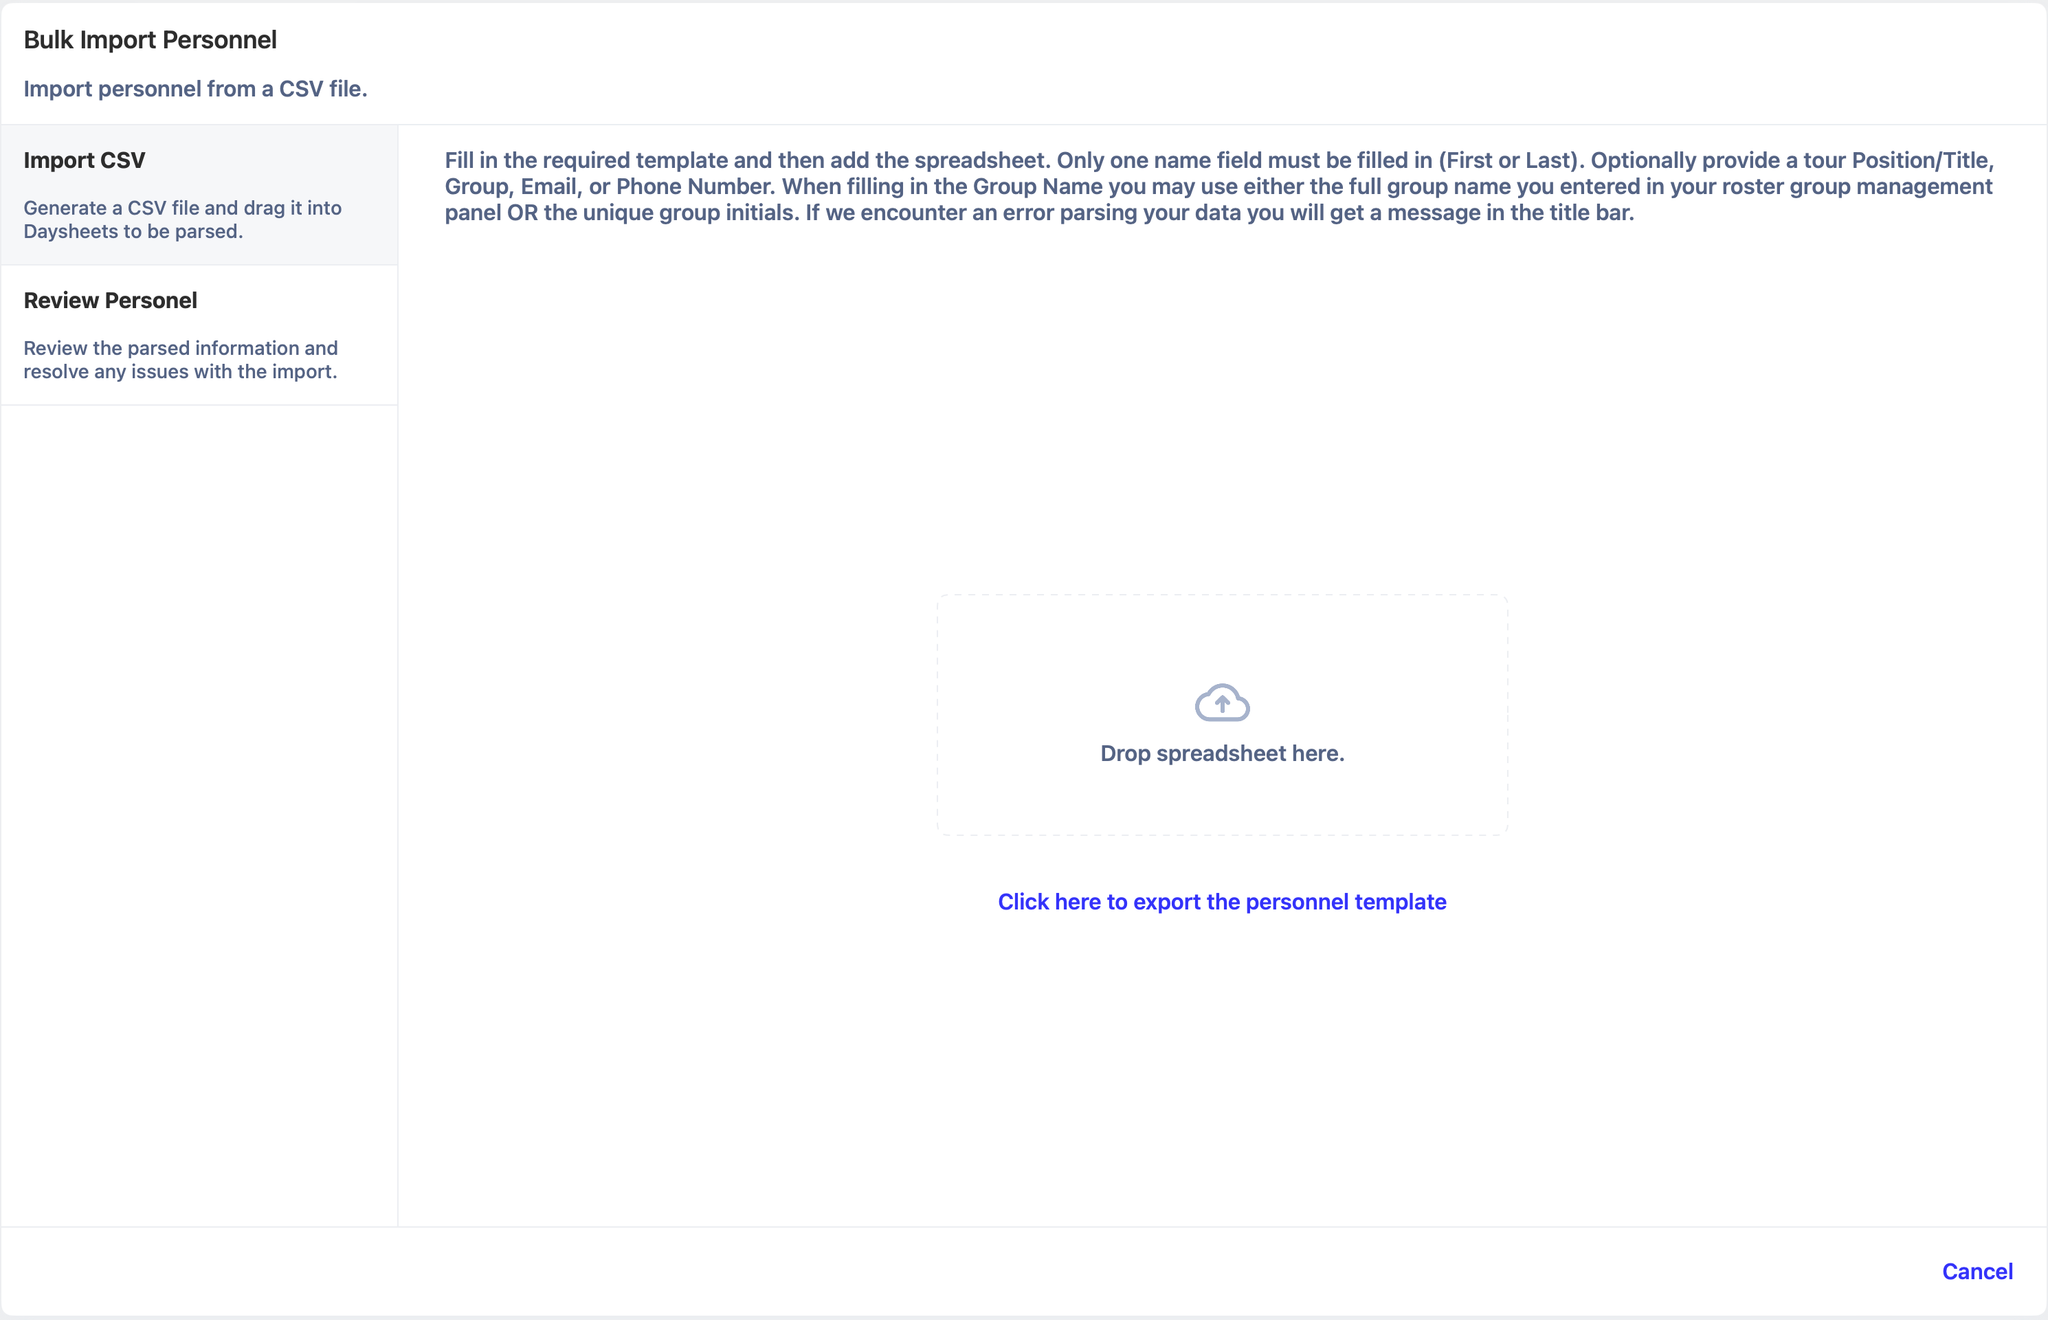
Daysheets will open a new window with instructions on how to use the importer. Start by downloading a copy of the personnel template. Next, copy the required fields from your personnel grid into the Daysheets template. Daysheets currently supports the following import fields:
- First Name
- Last Name
- Position
- Group
- Phone Number
If you’re using groups, make sure to use either the full name of the group, or the initial provided when you were creating groups . when you are finished copying over the columns, please be mindful of the following:
- Ensure you leave the header row exactly as it was when you downloaded the template.
- Leave yourself, or anyone already added to your tour’s personnel out of the template.
- When you save the populated template, ensure you save the file as a CSV.
- You want to ensure your CSV file format is CSV UTF-8 (comma delimited), which is the default CSV file for excel. If you are using Apple Numbers, you will need to select the check box that says “UTF-8”.
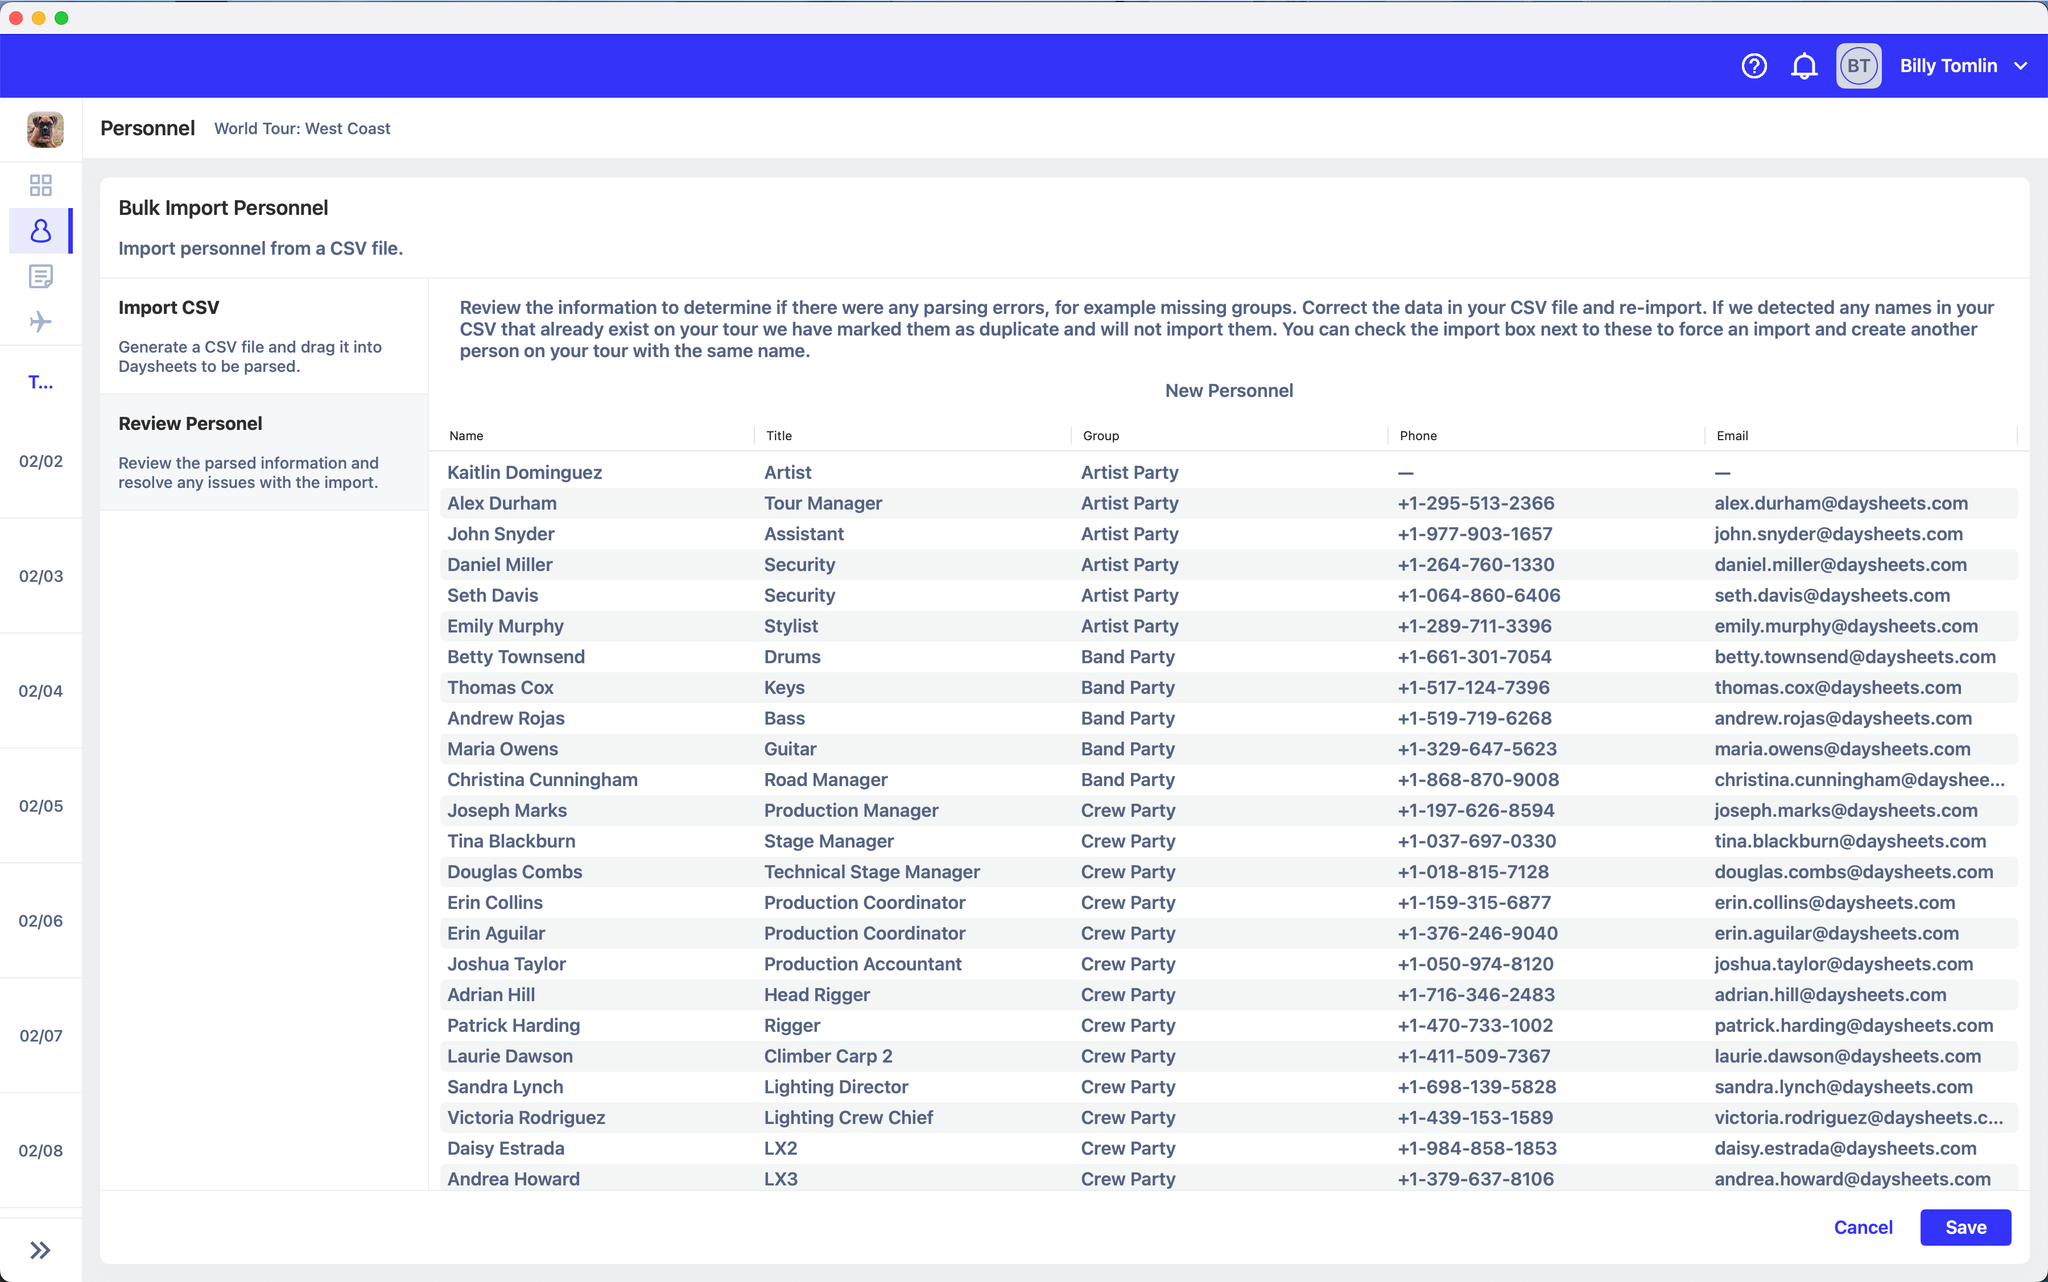
Once your file is ready for upload, drag it into the window. Daysheets will process the information, and return a view with all of the parsed information.
If everything looks good, press Save. If there are any concerns, press cancel and adjust your template before attempting to upload again. If you have any issues using the import, reach out to help@daysheets.com .


