Creating Groups
Start in the personnel grid and toggle to Groups in the pill bar at the top of the screen. Click Add Group in the top right or use the cmn + n keyboard shortcut. The drawer that appears on the right allows you to add the Group Name, Initials (how the group will be displayed next to schedule items, notes, etc.), Permissions, and Visibility. To learn more about Permissions and Visibility, click here. You can also request travel profiles from all members that are added to this group by toggling on Request Information from Individuals Added to this Group. You can the select wich information you would like to be requested.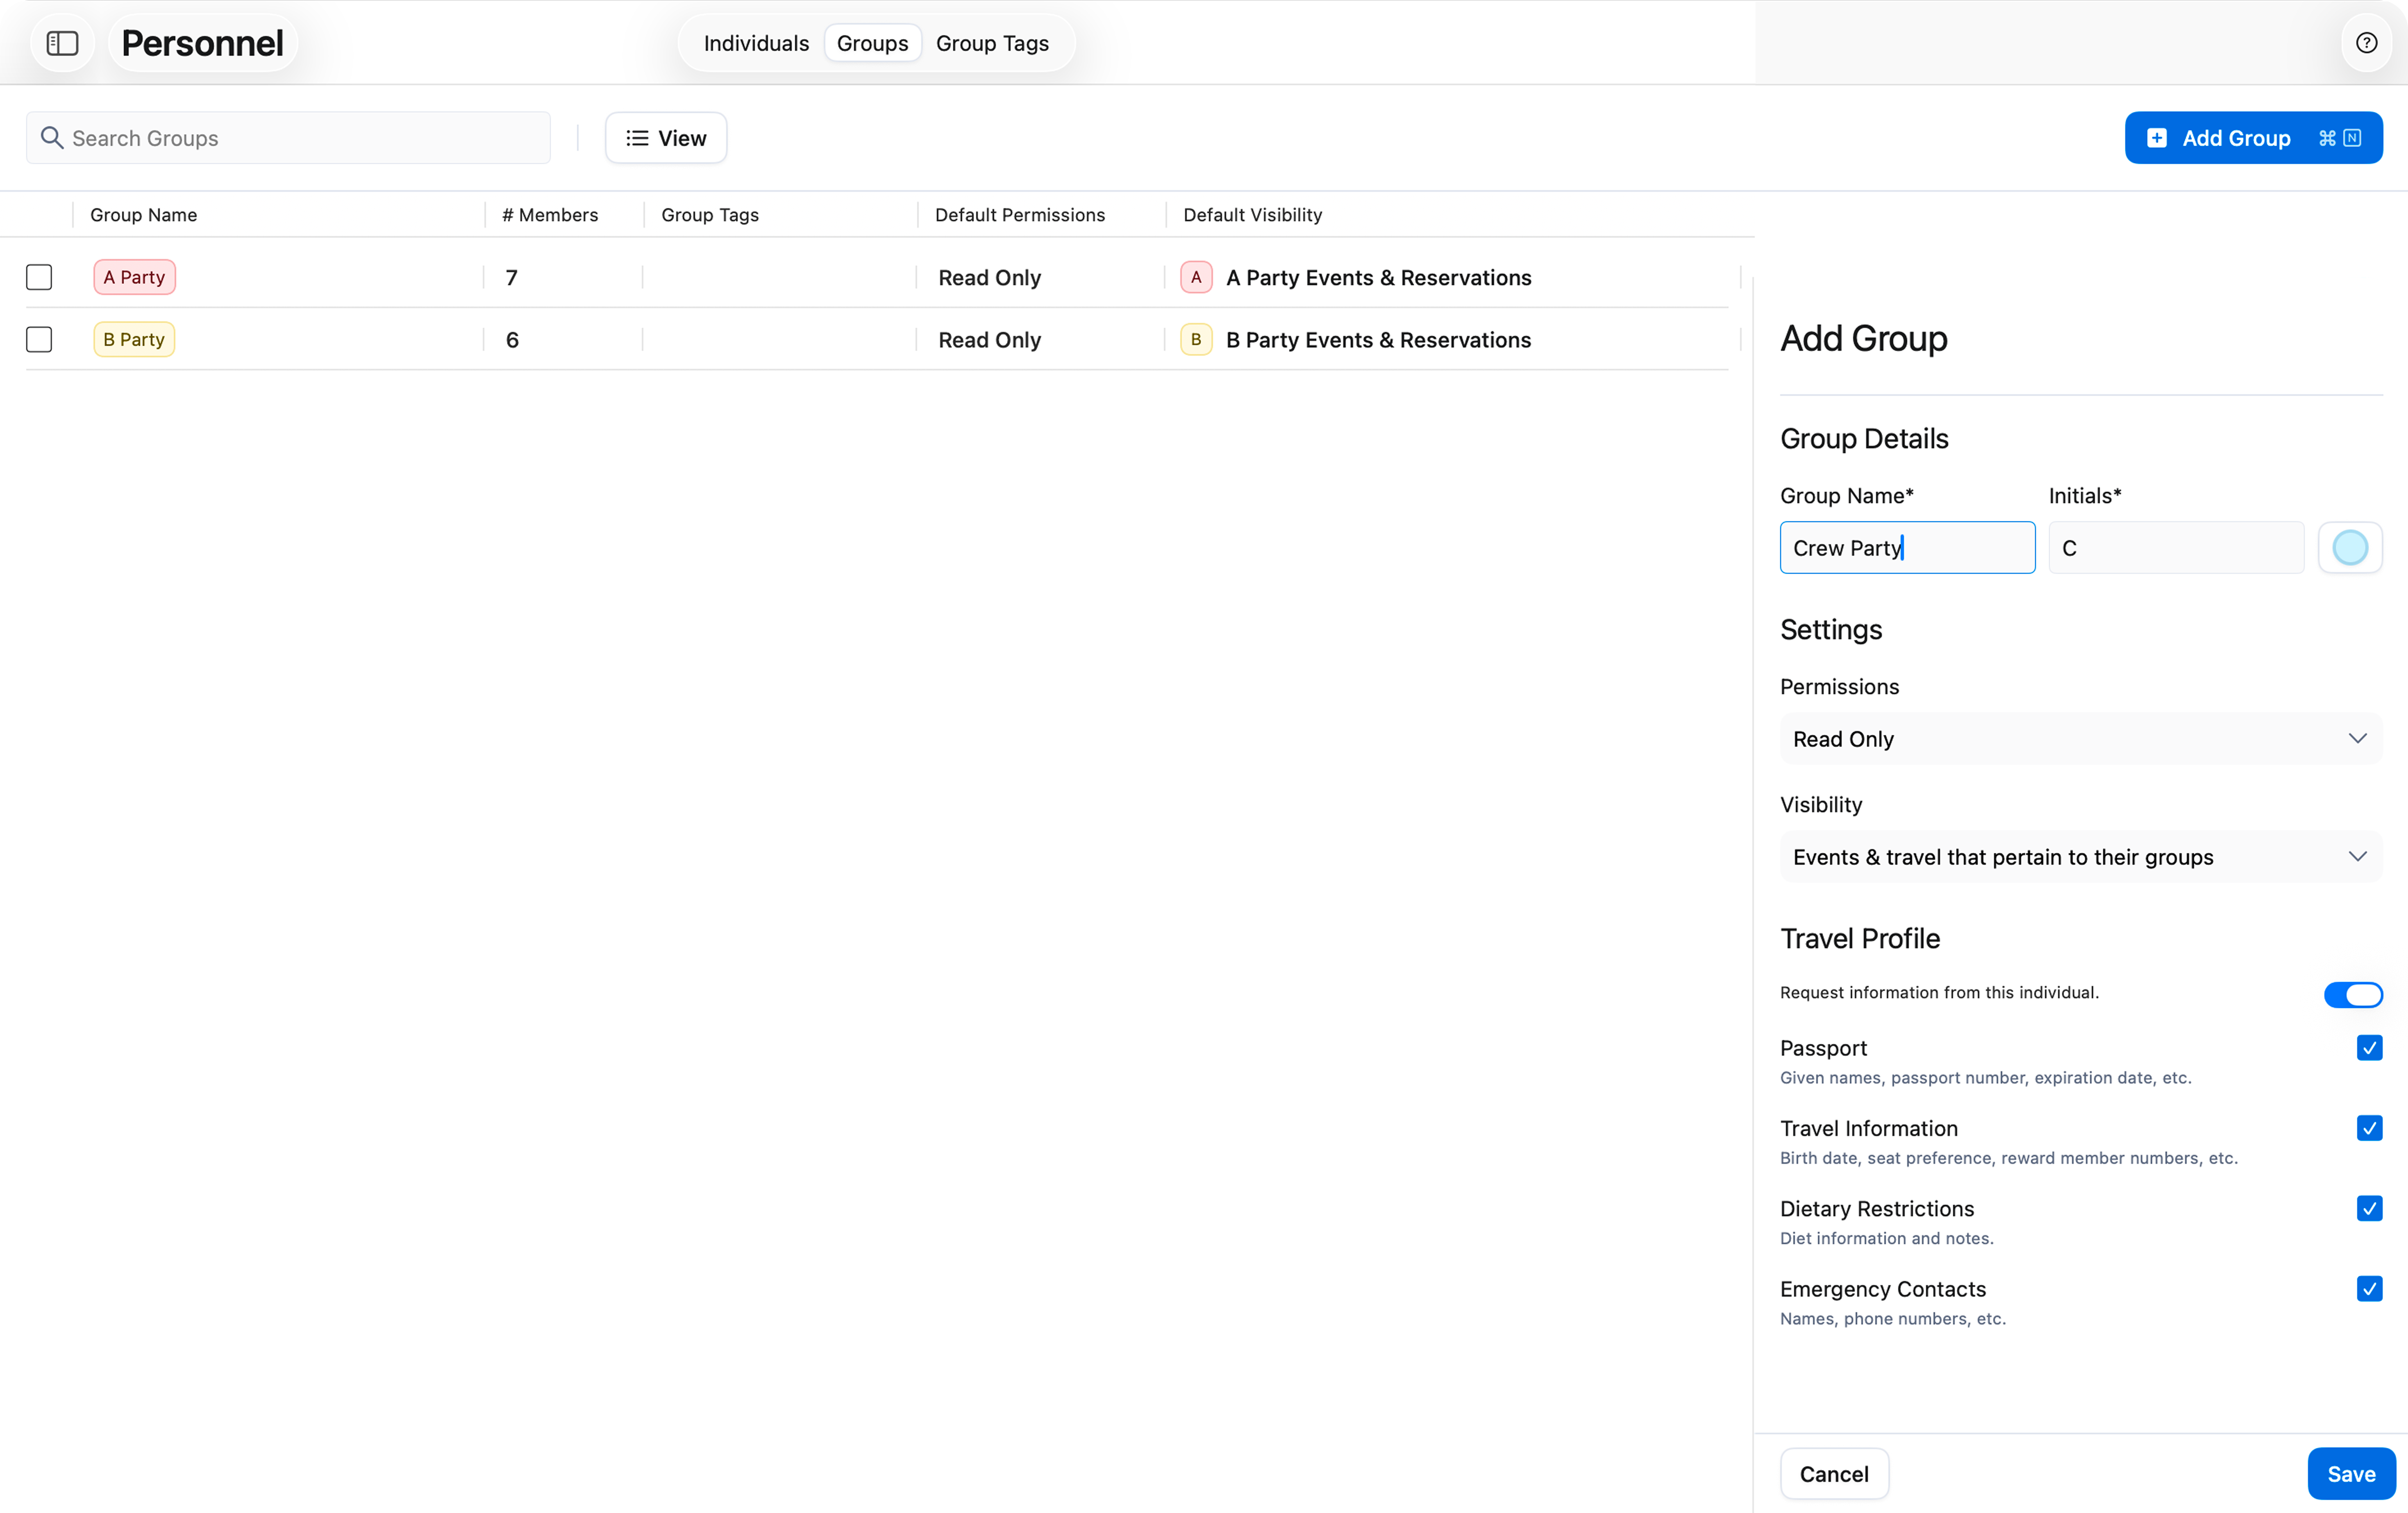
Creating Group Tags
From the personnel grid and toggle to Group Tags in the pill bar at the top of the screen. Click Add Group Tag in the top right or use the cmn + n keyboard shortcut. The drawer that appears on the right allows you to add basic details and memebers to the group. Start by selecting which type of group tag you’d like to create. Basic Group Tags will create a subgroup that is part of a parent group that has already been made. Advanced Group Tags allows you to tag personnel that are a part of different parent groups — For example a production group tag could be used for the road manager in your B Party, the production coordinator in your Crew Party, and the tour manager in your Artist Party. If you’re making a Basic Group Tag you can select which parent group it will be housed in. Then add the name of the group tag and its initials. For Advanced Group Tags, since there is no parent group, just add the name of the group tag and its initials.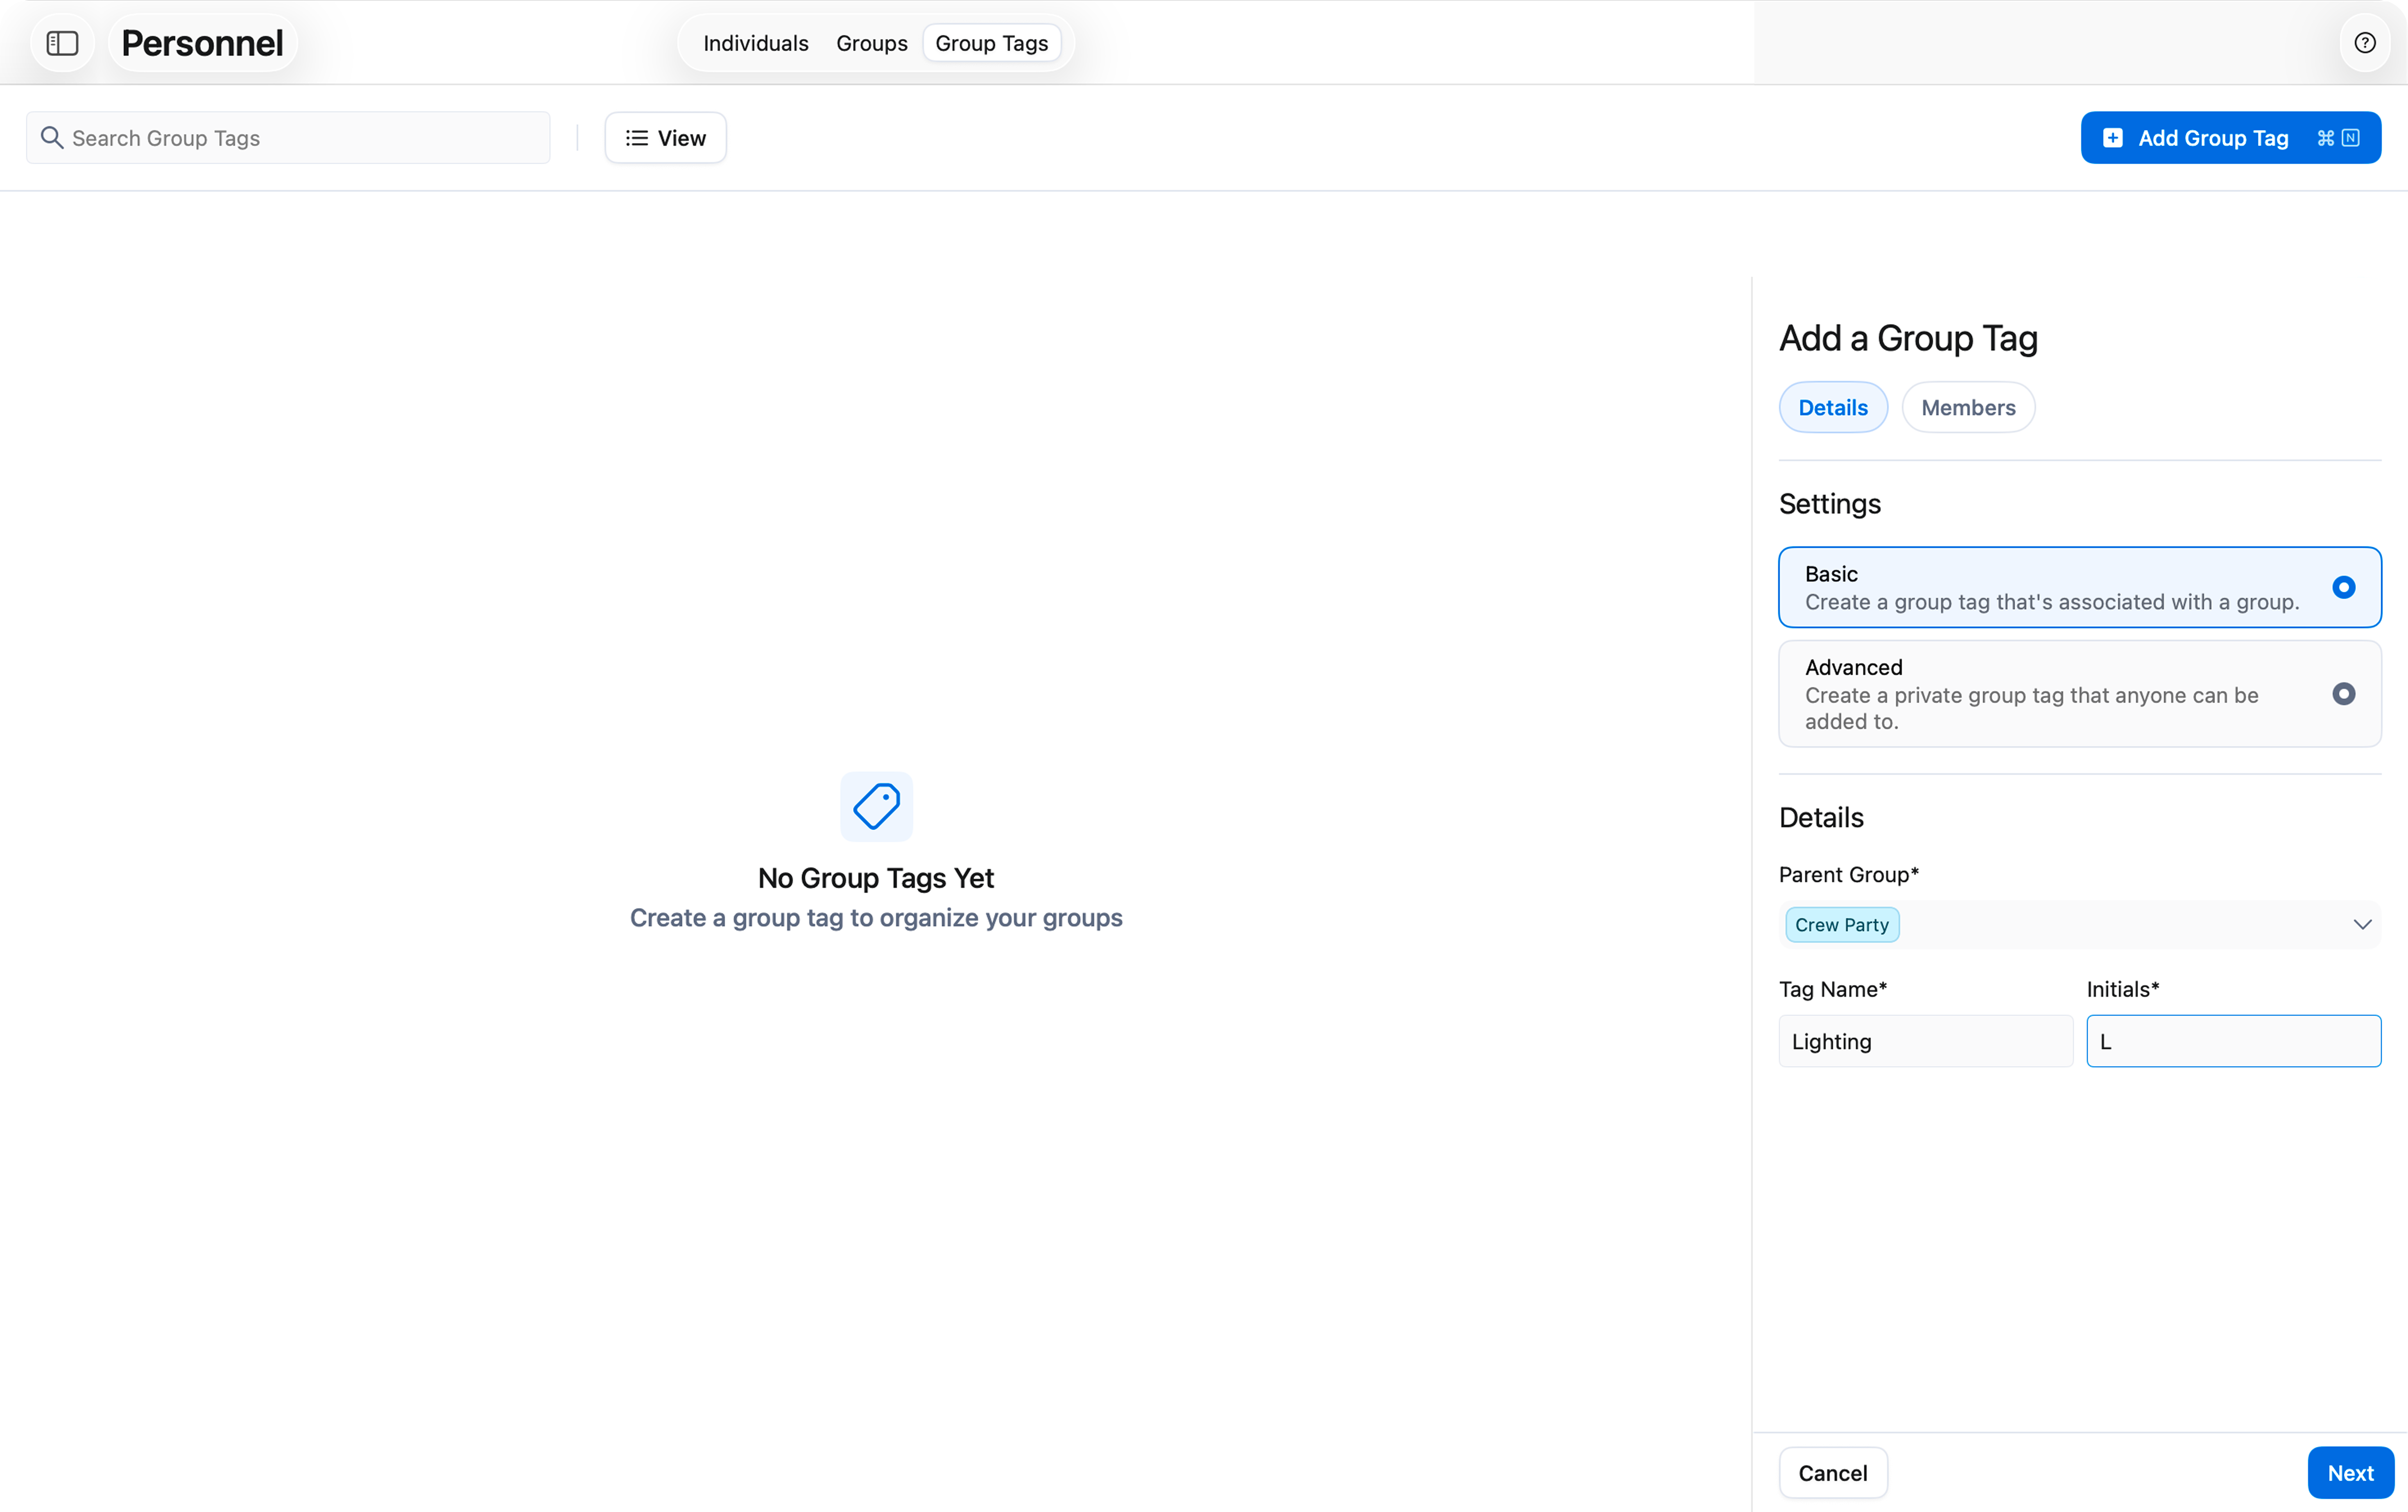
The individual you are trying to add to a group tag must already be part of a parent group